Understanding the
pool construction process can make building a new pool feel much less overwhelming. If you have never built a pool before, you may know what you want the finished backyard to look like without knowing exactly what happens between the first design meeting and your first swim. While every property and project is different, a professional pool build follows a clear series of steps designed to move your project from an idea to a finished outdoor space.
For homeowners in Jacksonville, Ponte Vedra, St. Augustine, Fleming Island, and surrounding areas, here is what you can expect when building a new pool.
Step 1: Consultation and Pool Design
The pool construction process starts long before excavation equipment arrives.
Your first consultation is an opportunity to discuss your property, budget, design preferences, and how you plan to use the pool. Are you looking for a family-friendly space? A modern pool and spa? A complete outdoor entertaining area? These conversations help shape the initial design.
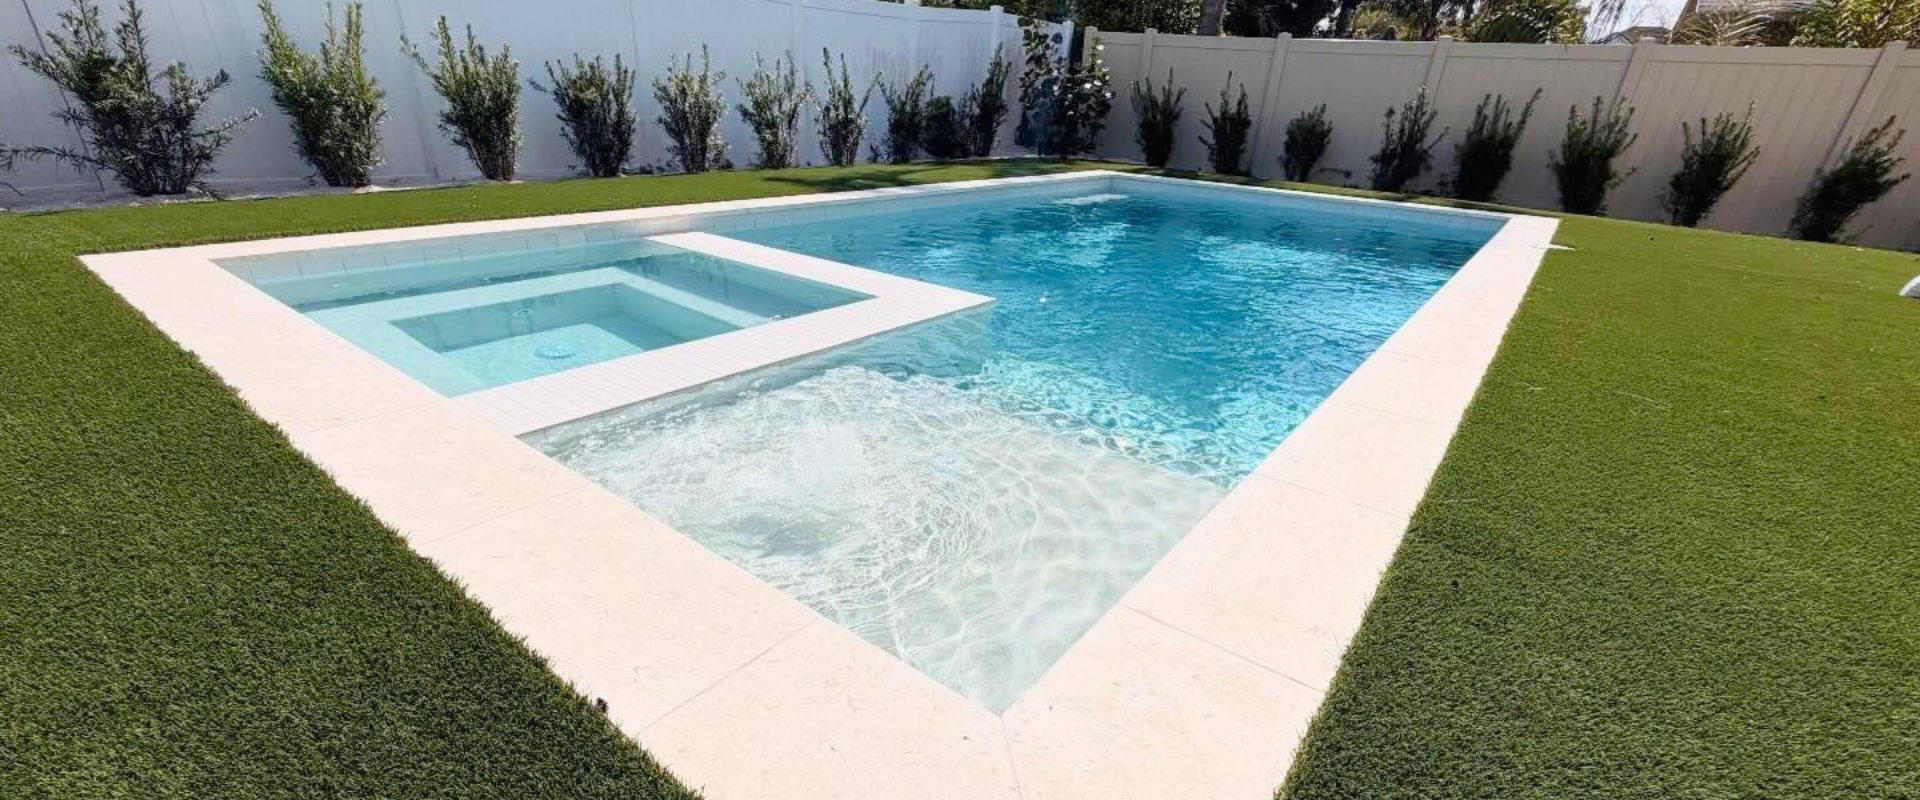
At Pools ’N Spas, homeowners can see their project through a custom 3D design before construction begins. This makes it easier to understand how the pool will fit within the property and how features such as tanning ledges, spas, decking, and outdoor living areas will work together.
Visit our
New Pool Construction page to learn more about starting a custom pool project.
Step 2: Engineering and Permitting
Once the design is finalized, the technical work begins.
Engineering ensures the pool is designed appropriately for the property and meets structural requirements. The project must also receive the necessary permits before construction can begin.
This stage is especially important in Northeast Florida, where permitting requirements can vary depending on whether your property is in Jacksonville, Ponte Vedra, St. Augustine, Fleming Island, or another nearby community.
At Pools ’N Spas, permitting and engineering are handled in house, helping keep the process organized and reducing the amount homeowners need to coordinate themselves.
Step 3: Site Preparation and Excavation
Once approvals are in place, it is time to break ground.
The pool layout is marked in the backyard so you can see its placement before excavation begins. Construction crews then prepare the site and excavate the pool according to the approved design.
Access matters during this stage. Gates, fencing, landscaping, utilities, and the distance between the street and backyard can all affect how equipment reaches the construction area.
This is why site conditions are evaluated early in the planning process rather than after work begins.
Step 4: Steel, Plumbing, and Electrical
After excavation, the structure of the pool begins taking shape.
Steel reinforcement is installed to create the framework that supports the pool shell. Plumbing lines are also installed for circulation, filtration, drains, returns, spas, and water features included in the design.
Electrical work prepares the pool for equipment, lighting, automation, and other powered features.
Although much of this work will eventually be hidden, it is one of the most important parts of how pools are built. Quality behind the finished surfaces directly affects long-term performance.
Step 5: Shotcrete or Gunite
Once the structural framework and necessary plumbing are in place, the pool shell can be formed.
Shotcrete or gunite is applied around the steel framework to create the permanent structure of the pool. This is the stage when the design starts looking much more like the pool you imagined.
After application, the shell requires appropriate curing time before construction progresses.
Homeowners are sometimes surprised by how different the backyard looks during this stage. A construction site can feel messy, but each phase is moving the project closer to the finished design.
Step 6: Tile, Coping, and Decking
Next come many of the details you selected during the design phase.
Waterline tile and coping begin defining the finished look of the pool. Decking is installed around the pool based on your chosen materials and layout.
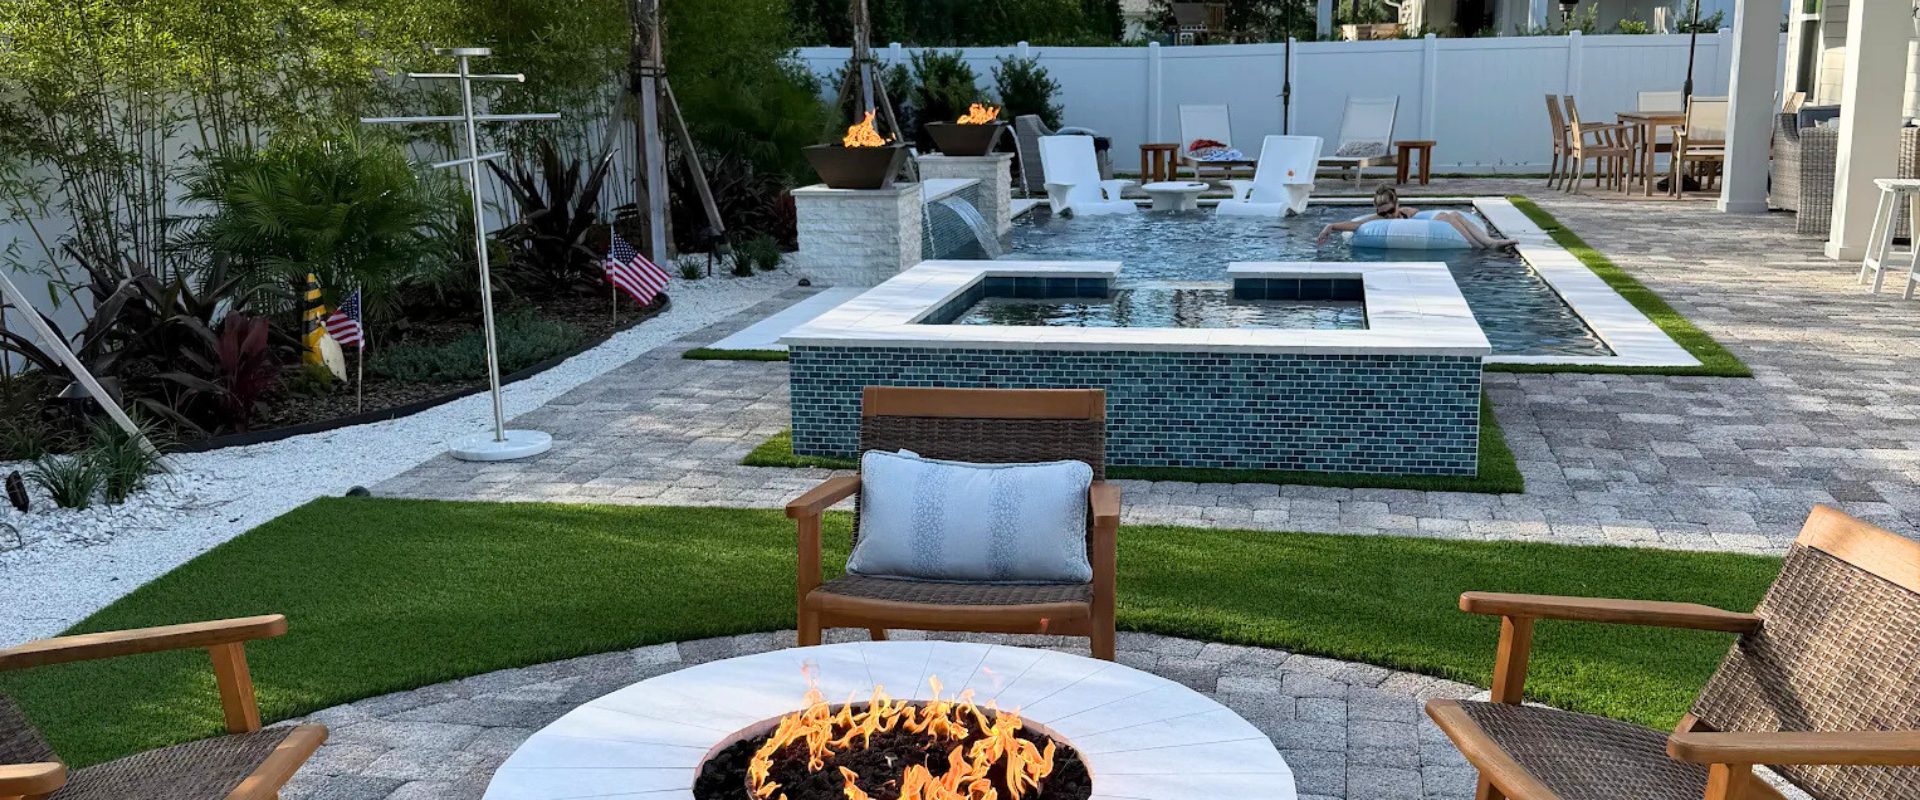
This is also where the pool begins connecting visually with the rest of the backyard. Travertine, pavers, outdoor kitchens, fire features, and other elements can help turn the area into a complete outdoor living space rather than simply a place to swim.
Step 7: Interior Finish and Final Details
The interior pool finish is one of the final major construction steps.
Once it is applied, the pool can be filled and the equipment can begin operating. Final details are completed, systems are checked, and homeowners receive guidance on operating and maintaining their new pool.
Landscaping and surrounding outdoor living elements may also be completed during the final stages depending on the scope of the project.
What Makes the Pool Building Process Easier?
Clear communication. A professional builder should explain what is happening, what comes next, and what homeowners should expect throughout construction. You should never feel like you have to guess where your project stands.
There will always be variables such as weather, inspections, site conditions, and material availability, but a well-managed process keeps those variables from becoming unnecessary confusion.
Start Your Pool Project With Confidence
The
pool construction process involves many moving parts, but it should not feel complicated for the homeowner. With the right team, design, engineering, permitting, construction, and finishing are managed as one organized process. At Pools ’N Spas, we guide homeowners throughout Jacksonville and Northeast Florida from the first design conversation through the final details, with an emphasis on communication, craftsmanship, and a clear plan at every stage.
If you are ready to see what your backyard could become,
schedule a consultation and start planning your new pool with Pools ’N Spas.